Top 5 Wood Burning Techniques from a
Pyrography Teacher & Professional Artist
There are 5 basic wood burning techniques that every pyrographer comes back to - I don't care if you're in the beginning woodburning stages or a professional woodburning artist selling your work.
These are the techniques we all use.
Actually, the first 4 techniques are ones I cover in depth in my pyrography course, the [LAB] Learn and Burn that helps you get the clean, crisp lines that you crave
Technique 5 is one of the big techniques we cover hard core in my Savvy Pyrography Shading course that helps you get the butter smooth shading that is too often just out of reach.
Now remember – some techniques are harder than others.
That’s okay.
In the beginning, you WILL get blobby lines and splotchy shading.
That's okay too.
These techniques will help you fix that.
And if you need more help, you can always jump into one of my courses.
Ready for some basic wood burning techniques? Here we go!
Pin it. Save it. Share it.

Want To Learn How To Wood Burn?


Courses are now available on the Burn Savvy YouTube channel membership!
Go see which level suits YOU best. ⇣
You Can Also Watch This YouTube Video on These Wood Burning Techniques Right Here
Wood Burning Technique #1:
Pull
The idea is to pull the burner toward you. You can pull it toward your body, toward your elbow, toward your wrist, any of those work. Just make sure it’s a pulling motion.
Pushing the nib forward tends to dig into the wood and cause those frustrating blobs.
Especially if you’re burning against the grain, woodburning nibs when “pushed” tend to gauge holes instead of burn lines.
Can you push and still get a good line?
Absolutely.
BUT…
…it takes more practice, more effort, more finessing – which simply means more frustration when you are just starting out.
So don’t push.
Pull.
Wood Burning Technique #2:
Swing
This is one of my favorites and one of my student’s favorites.
You come in smoothly and out smoothly.
Imagine your burner is a child in a swing. The nib is the child’s feet dragging in the sand.
You burn back and forth in a swinging motion – smooth at the beginning and smooth at the end.
This helps you NOT blob at the beginning and the end of the burned lines.
As I teach my students, you do not want to treat your burner like a pen or pencil.
If you simply put your burner down on the wood, you will blob.
You have to swing in.
And if you leave your burner on the wood at the end of the line, it will blob there too.
You have to swing out.
Don’t stop at all or the burn will BLOB.
You simply swing in and swing out.
The swinging technique can also be used to make longer lines. Just swing that burner back and forth, slowly dragging that burner a little further with each swing in or out.
Swinging is also really good for filling in spaces that didn’t burn well.
Sometimes when you burn, you hit a small patch of harder grain and you have a light patch in your dark line.
Simply come in with small, swinging motions over the light patch to fill in the line.
Watch the video if this is confusing… swinging is UH.MAZ.ING at fixing light patches or blobby lines.
Wood Burning Technique #3:
Touch
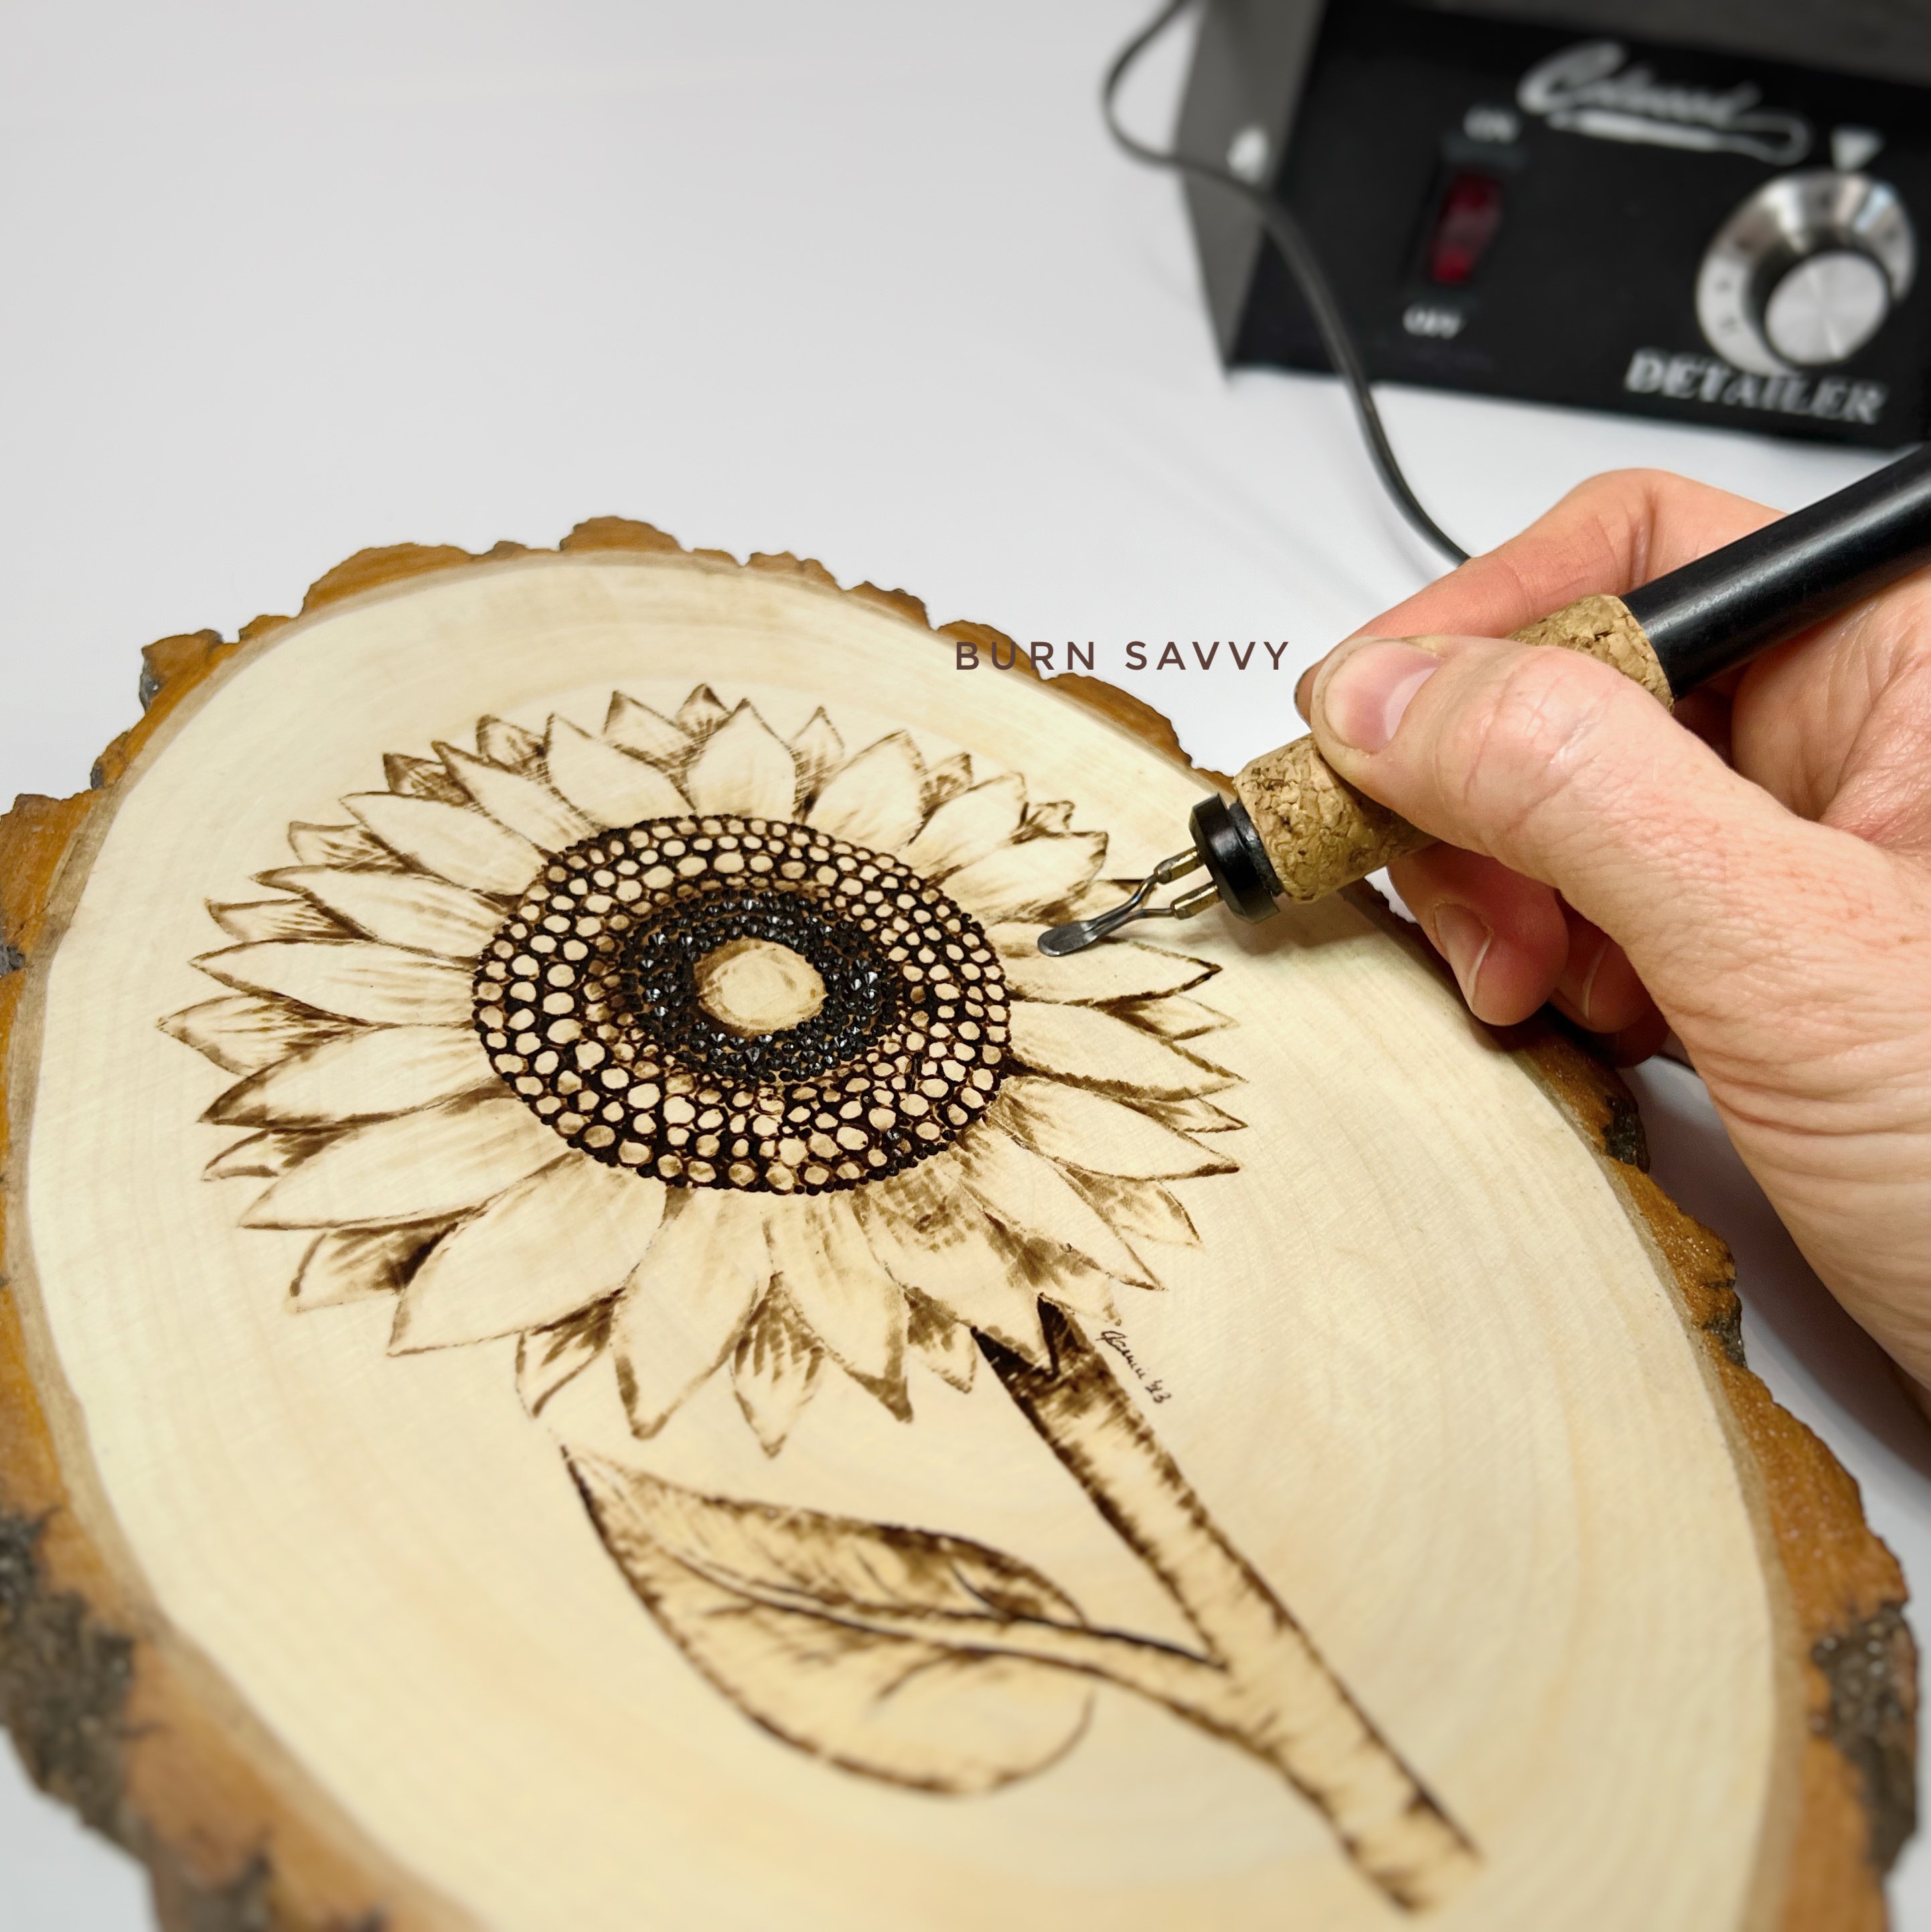
The idea behind this is to barely touch the wood to make a dot.
This is often used for stippling or pointillism or adding texture.
If you want the dot to be darker, simply spend a little more time on the spot or increase your heat.
Don’t add pressure.
Pressure just stresses out your wrist, gives you carpal tunnel, and it can damage your burner.
Hot woodburning nibs can become brittle and susceptible to damage when they are hot.
So respect that by pressing lightly.
Burn slower if you want the dots darker. Burn faster if you want the dots to be lighter.
This is also an excellent technique for TOUCHing up blobby lines.
Touch up. Get it? The touch technique? Heh, heh, heh…
Okay, enough with the puns.
But like I was saying, you can use the touch technique to fill in light patches in your burned lines.
Lightly touch that hot nib down on the light spot until you’ve filled it in the way you want it.
Wood Burning Technique #4:
Sweep
Imagine yourself in a room with a broom.
You’re going to sweep the floor - not in the middle, but off to the side edges of the room.
You put the broom down, then pull it into the middle of the room.
You do the same thing with your burner, except you never stop when you’re burning. That’s how the blobby, sloppy, splotchy lines happen.
Instead, you come in already moving, but moving slowly. Then you start moving a little faster until you sweep that burner up and off of the wood.
This gives you a darker line that fades out to a lighter line.
I use this sweeping technique all the time for eyelashes, grasses, and other things that taper down into a smaller line.
Wood Burning Technique #5:
Scumbling
This is a technique I cover thoroughly in my shading course.
Scumbling is basically like drawing fast little circles. So if touching is pointillism, scumbling is circularism.
I don’t use this technique with line art.
I don’t use this technique with lettering.
But I use it All. The. Time when it comes to shading.
Using different nibs creates different textures too.
For example, scumbling with a shading nib makes a nice, smooth, even texture. Scumbling with a ball point nib or mini flow point can make a texture closer to tight-curly hair.
Scumbling is another one of my favorite woodburning techniques because it is so versatile.
While you are learning, PLEASE remember to be kind to yourself.
In the beginning, you WILL make blobby lines and splotchy shading.
These techniques will help you fix that.
And if you find yourself still struggling, you can always jump into one of my courses.
Participate in the group.
Ask questions.
There are so many pyros in Burn Savvy Academy that are willing to help you along your way.
Seriously, our pyro community is THE best!!!
If you’re ready to begin the journey of getting clean crisp lines, jump into the [LAB] Learn and Burn course where you learn how to get those beautiful burns every time.
If you’re ready to level up your shading, join me in the Savvy Pyrography Shading course!
Here we help you go from beginner woodburning level to advanced woodburning techniques to get the buttery smooth shading that you crave.
Want to seriously up your pyrography game?
I'm spilling my pyrography secrets. Don't miss out on...
- Your FREE guide to woodburning tips & their uses
- Helpful tips, hacks & articles
- First dibs on upcoming courses
- Notice of retreats, challenges, and other pyrography events
- and so much more coming!
So go ahead. Subscribe. Consume. Enjoy.
You deserve it.
⇣ Enjoying your FREE pyrography tips & techinques? ⇣
I am delighted you find them helpful!
If you want some easy ways to give back, here are some ideas that also help YOU level up YOUR wood burning game...
- Watch my YouTube videos (that's totally FREE).
- Buy your woodburning products through my affiliate links which throw me a dime or two at zero extra cost to you (read about affiliate links here).
- Take the pyrography courses that I've poured my heart and soul into helping you burn like a boss!
- Join in the woodburning retreats - that's really like giving back to yourself, actually. ;)
Thanks for helping me keep creating free, delightful, and helpful woodburning content for YOU and pyros like you.