Woodburning Tips:
How to Use the Transfer Point
Know what's fascinating? Even though this is one of the most invaluable woodburning tips in a solid-point kit, it is actually not used for "woodburning" very often.
Its best uses are definitely related and super helpful... but not the main burning point you'd use to actually burn your pyrography art.
Want To Learn How To Wood Burn?

Courses are now available on the Burn Savvy YouTube channel membership!
Go see which level suits YOU best. ⇣
Did I tell you I made a Board?
I used all the woodburning tips on a basswood board to see which techniques were the easiest, what took some work, and what was a downright pain.
I give you a sample for the shading tip from the board down below.
Get the full board of solid-point woodburning tips and their uses for FREE when you sign up!
 Woodburning Tips & Their Uses
About the Transfer Point
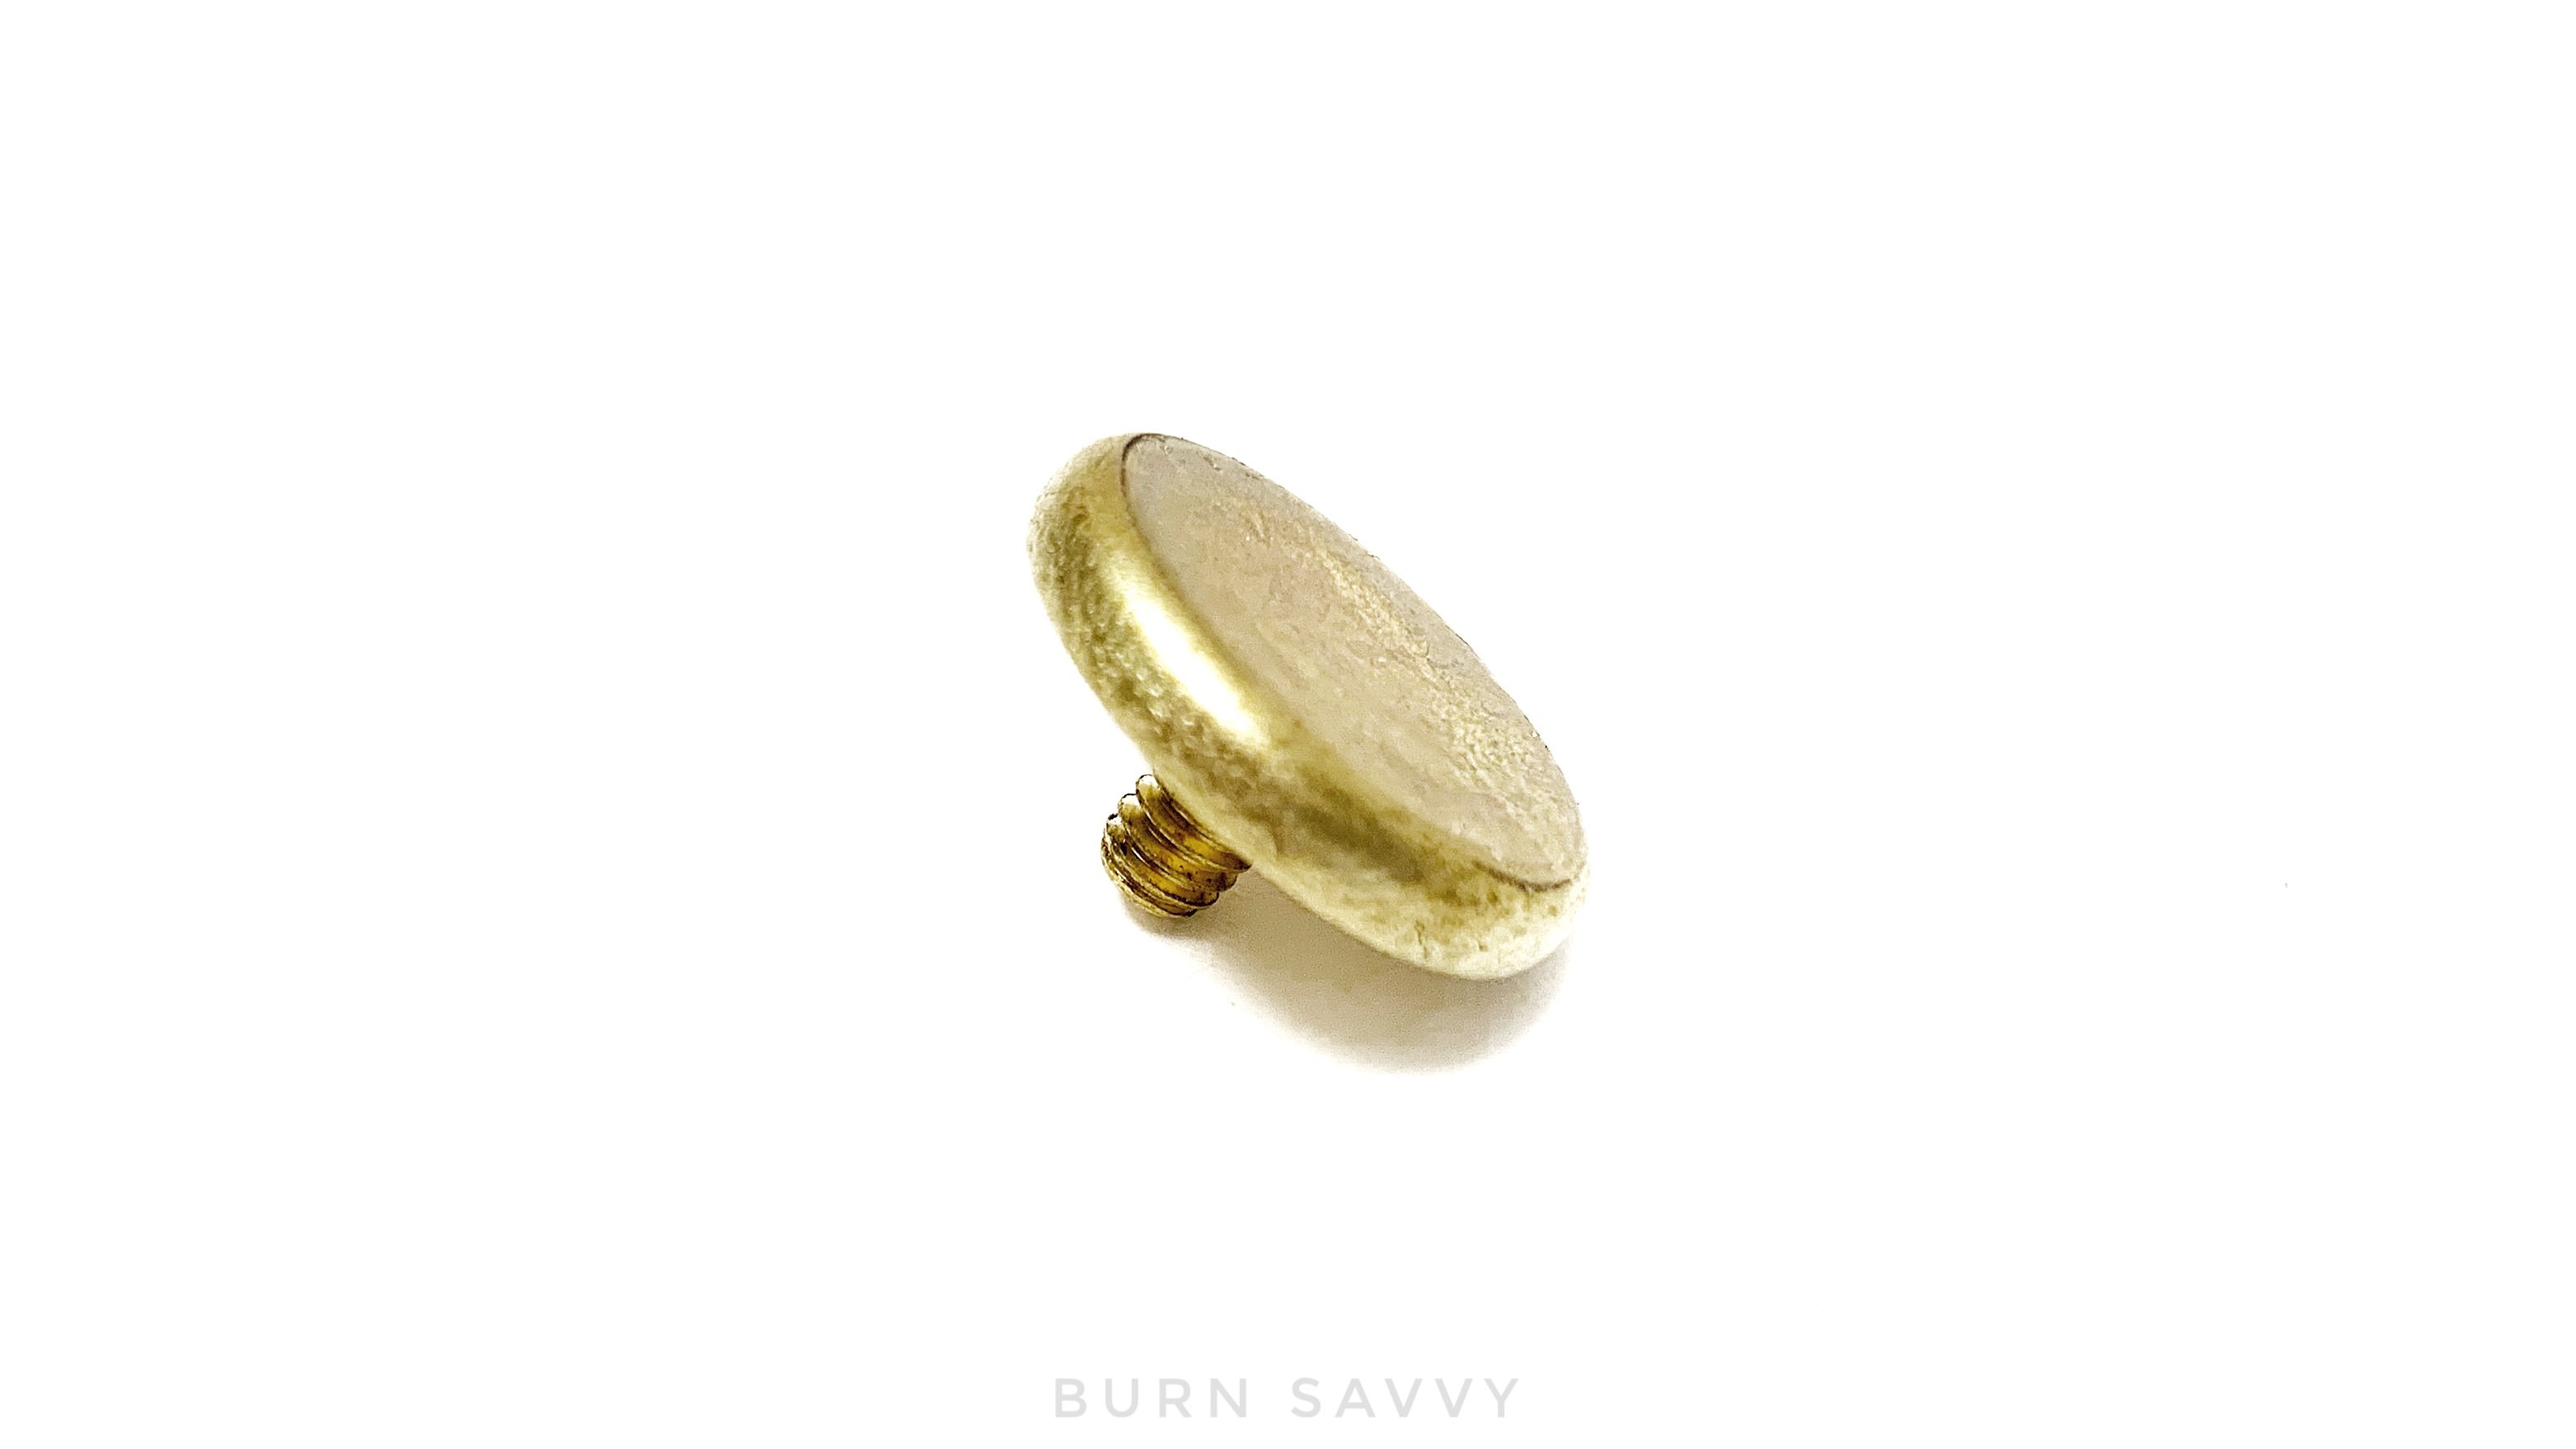
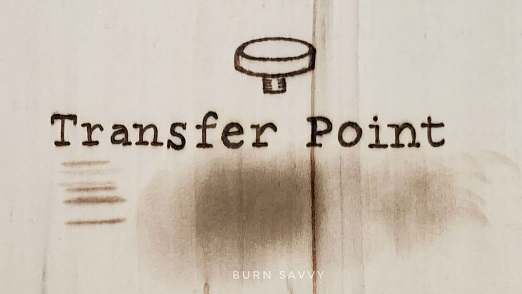
This tip is about 1 inch around, fairly thick and flat, like a bulky coin.
I remember first seeing this point in my kit and thinking - what the devil is THAT for?
And when I saw how it actually burned wood, my next thought was, well I'm never using THAT tip again.
But as it turns out, this tip just has a very specific purpose.
And when used for that purpose, this little tip is invaluable.
Best Uses:
What I love About The Transfer Point
It's main use is what is was named for...
- Transferring patterns
If there is a pyrography pattern you want to use, this is your biggest asset!
Print that pattern out on a laser printer or copy machine then use this tool to transfer it to the wood! Sooooo much easier than using graphite paper or the trusty old fashioned scribble-all-over-the-back-of-the-paper-and-trace-it-on technique.
I've got a tutorial up on YouTube with my top 3 favorite transfer techniques. The transfer point works beautifully for method number 3 - the heat transfer method.
You can watch that ⇣here⇣.
The next best use is another fabulously helpful technique...
- Removing dents from wood
It works like an iron! Simply spritz the dent in your wood lightly with water. Then on low heat, gently rub over the dents with the transfer tip.
It basically pulls that wood back up to it's original level.
This does NOT work on chunks taken out of the wood, just for dents pushed in.
I have another tutorial lined up for this too (coming soon).
What's Okay About It
If you're going to use this point for actual burning, just know there is not a lot you can control with this point.
It does okay with...
- Shading large light areas
It makes a very light, smooth shading. Getting into small spaces is pretty much impossible, but it would work nicely for large areas.
But when you pass over grain - especially if the wood has has any sap - it reeeeaaaally shows up.
Since it's hard to control, it would take real effort to smooth it out.
- Subtle straight lines
If you turn this baby on it's side, you can get some fairly straight lines. They're faded, but that could work for some projects.
If it were me though, I'd just pick a different tip for those lines and work on a lower heat.
What's Annoying or Hard
Pretty much every technique that involves actual burning.
In fact, you can't really do any of these pyrography techniques:
- Shading in small areas
- Lettering
- Dots
- Curved lines or circles
- Bold dark burns
In general, I'd just stick with it's best uses and choose other woodburning tips for all my burned art.
Download the Board of Woodburning Tips & Their Uses
You can check out this article on solid-point woodburning tips and their best uses here...
...or take the shortcut...
⇣sign up down there get FREE *exclusive* access to this PDF with all the solid-point woodburning tips and their uses.⇣
Burn Savvy Home > Woodburning Tips & Their Uses > Transfer Point
Want to seriously up your pyrography game?
I'm spilling my pyrography secrets. Don't miss out on...
- Your FREE guide to woodburning tips & their uses
- Helpful tips, hacks & articles
- First dibs on upcoming courses
- Notice of retreats, challenges, and other pyrography events
- and so much more coming!
So go ahead. Subscribe. Consume. Enjoy.
You deserve it.
⇣ Enjoying your FREE pyrography tips & techinques? ⇣
I am delighted you find them helpful!
If you want some easy ways to give back, here are some ideas that also help YOU level up YOUR wood burning game...
- Watch my YouTube videos (that's totally FREE).
- Buy your woodburning products through my affiliate links which throw me a dime or two at zero extra cost to you (read about affiliate links here).
- Take the pyrography courses that I've poured my heart and soul into helping you burn like a boss!
- Join in the woodburning retreats - that's really like giving back to yourself, actually. ;)
Thanks for helping me keep creating free, delightful, and helpful woodburning content for YOU and pyros like you.